
World Bosses


World bosses are huge, persistent enemies that sleep in fixed lairs across the worlds of DragonMineZ. Anyone can walk in and wake one, everyone nearby fights it together (the boss gets tougher with every extra fighter), and when it falls every fighter is ranked by contribution and rolls for rewards. A defeated boss comes back after an hour.
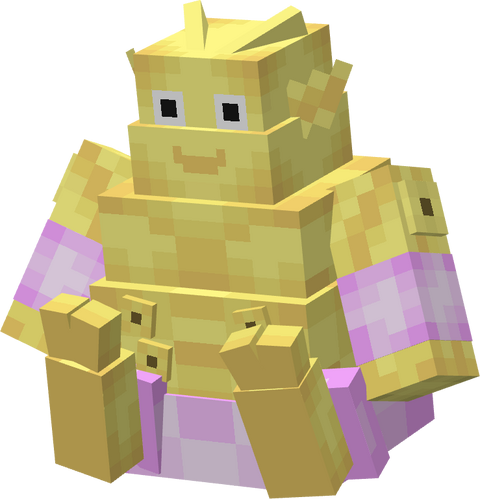
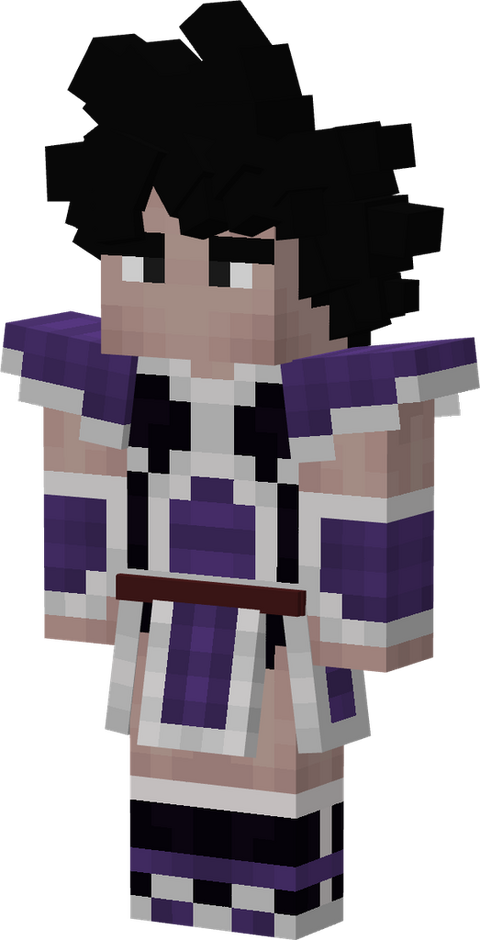
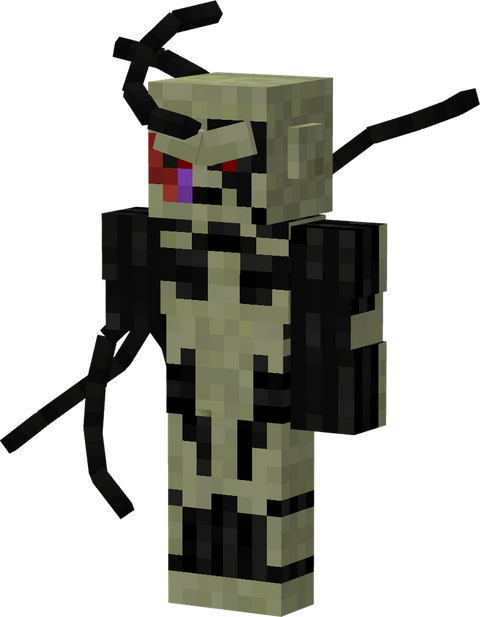
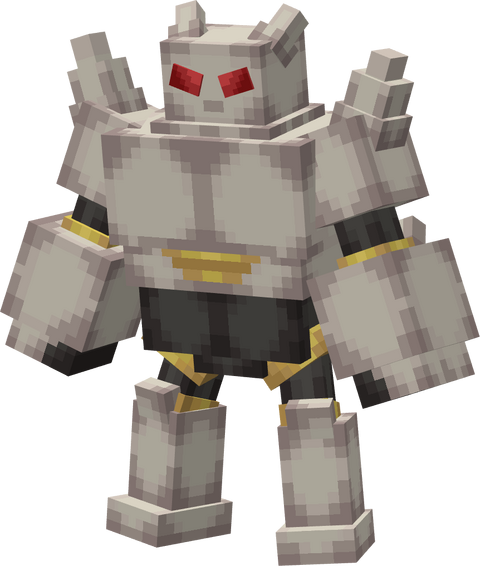
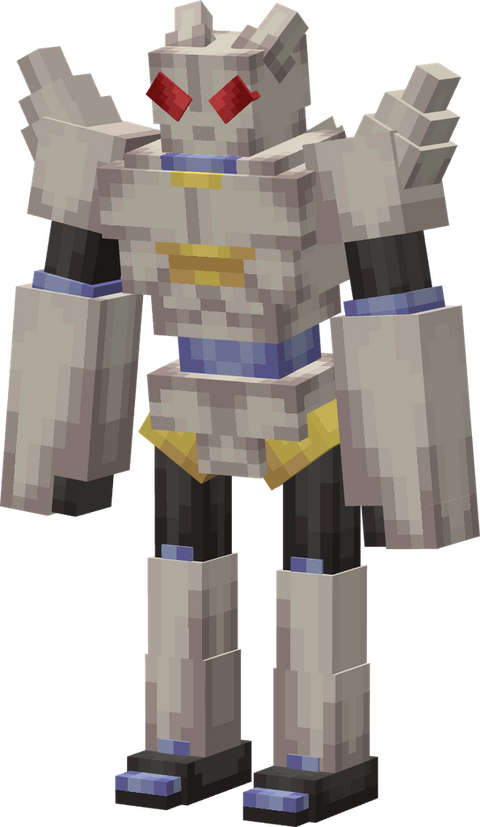
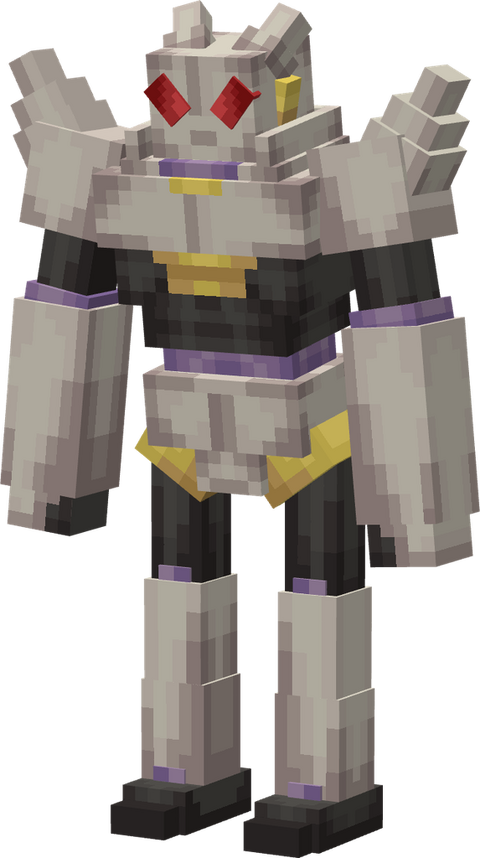

The bosses
| Boss | Boss key | World | Lair | Health |
|---|---|---|---|---|
| Janemba | janemba |
Otherworld | A ring of spikes at the very bottom of Hell, about 1,000 blocks from the centre of the Otherworld. | 8,064,000 (Super Janemba: 8,820,000) |
| Turles | turles |
Earth | The clearing under the Tree of Might (swamps, at least 1,000 blocks from 0, 0). | 87,200 |
| Metal Cooler Core | metal_cooler_core |
Namek | The inner chamber of the Big Gete Star. | 640,000 |
| Tamagami Number 3 | tamagami_3 |
Demon Realm | A stone platform on the Third Demon World. | 3,120,000 |
| Tamagami Number 2 | tamagami_2 |
Demon Realm | A stone platform on the Second Demon World. | 12,620,000 |
| Tamagami Number 1 | tamagami_1 |
Demon Realm | A stone platform on the First Demon World. | 17,000,000 |
| Gomah | gomah |
Demon Realm | His throne on Gomah's Horn Cradle, a floating island high above the First Demon World, around X −1112, Z −1144. | 25,292,000 |
The health shown is for a single fighter with the default settings: every extra fighter adds more (see Bigger groups, tougher bosses). World bosses are built on the Hard story difficulty: each one has 4 times the health of its saga fight on Hard (8 times the Normal health) and the damage of that fight on Hard (1.5 times the Normal damage).
Lairs, waking and respawning
- Each lair's position is chosen once per world. The lair is prepared and the boss spawns when a player comes within 128 blocks of it. Turles waits until the Tree of Might has been generated, the Tamagami lairs are searched for while players are in the Demon Realm, and Gomah needs his Horn Cradle to have generated.
- A sleeping boss wakes up when a survival or adventure player comes within 32 blocks of its lair. The Metal Cooler Core only wakes for players inside its chamber, and a Tamagami or Gomah also wakes when you hit it. The boss then shows a boss bar to everyone within 64 blocks.
- If nobody is left fighting (no participant within range of the lair or the boss), the boss goes back to sleep at full health. A sleeping boss that has been pushed away from its lair is sent back to it.
- After a boss is defeated, it respawns after 1 hour of game time.
- Lairs repair themselves outside a fight. When a player comes near a lair whose floor has been destroyed, the Janemba and Tamagami arenas are rebuilt, and the Tree of Might, the Big Gete Star and Gomah's Horn Cradle are restored in the chunks that are loaded. A boss that is due to respawn waits up to a minute for the repair first.
Finding a lair
You don't need commands to reach the bosses:
- The Hell Ogre next to King Yemma tells you where Janemba sleeps (see Hell Ogre).
- Namekian Traders sell a map to the Big Gete Star, the lair of the Metal Cooler Core.
- The Time Patroller in the demon villages sells maps to the three Tamagami lairs and to Gomah's Horn Cradle.
Operators can use /dmzworldboss locate to see every lair and whether its boss is alive, respawning or waiting to spawn (see the commands below). If a lair's structure hasn't generated yet, locate and tp tell you which dimension and biomes to explore to generate it.
Fighting
Participants
Every player with a character within 150 blocks of the boss joins the fight. Joining puts the hidden Revive technique in your technique slot 4; whatever was there comes back when the fight ends or you leave the dimension.
While you take part in the fight the World Boss Theme plays. It stops when you leave the area, and a victory tune plays when the boss falls.
Bigger groups, tougher bosses
A world boss scales with the number of fighters: every participant after the first adds 50% to its max health and 25% to its melee and ki damage. With 2 fighters it has 1.5 times its health, with 4 fighters 2.5 times. Participants within 150 blocks of the boss count, including knocked-out ones; players in Creative or Spectator mode don't. The count is checked every 5 seconds, and when it changes the boss keeps the same percentage of its health. The bonus goes away when the boss goes back to sleep.
Truce
The fighters of a world boss are on the same side. Once you have contribution points in the fight or have been knocked out in it, you can't hurt any other fighter in the same situation, even with party PvP on or outside any party, and your beams don't clash with theirs. The truce lasts until 15 seconds after the fight ends.
worldBossHow bosses fight
World bosses fight on the Expert AI tier: everything the Elite tier does, with the fastest reactions and near-perfect dodging and aim (see Sagas for the AI tiers). World bosses that can Zanzoken (teleport out of the way) can do it on any player hit while it's off cooldown.
Their big moves are marked on the ground before they land: red circles and lanes show where a hit will fall. Each boss page lists its moves and phases.
Knockouts instead of death
During a world boss fight, a lethal hit knocks you down instead of killing you: you drop to the ground, glow, and see a desaturated screen with the number of revives you have left. You stay down until an ally revives you.
- Each player has 3 lives per fight. A life is only used when you're revived; with no lives left you can no longer be revived.
- If every participant is knocked out at the same time, the fight is lost: the downed players die and the boss goes back to sleep.
- If the fight ends any other way without a kill (the boss resets, an operator resets it…), downed players get back up and keep their lives.
Reviving allies
Press the Revive technique's key while looking at (or locked on to) a downed ally within 6 blocks. Hold still for 15 seconds: moving more than a block, being stunned, or taking damage that adds up to 10% of your max health during the cast cancels it and puts Revive on a 15-second cooldown. Several players can revive the same ally at once to get them up faster. If every cast on an ally stops, the progress already made isn't lost at once: it fades three times as fast as one reviver builds it, so a new cast soon after picks up where it left off.
A successful revive restores 25% of the ally's health, ki and stamina and puts Revive on a 90-second cooldown for everyone who helped.
Contribution
Your contribution is the sum of four totals, each weighted equally by default:
| Category | What counts |
|---|---|
| Damage dealt | Damage to the boss and its minions (physical, strike, ki and other). Minions include Janemba's Mini Janembas and the Metal Coolers of the Metal Cooler Core. |
| Damage mitigated | Damage blocked by your defense, by blocking, and by your ki barriers (including barriers you put on allies). |
| Damage received | Damage you took from the boss and its minions. |
| Healing done | Healing on yourself and on allies. Food, Senzu Beans and the revive restore don't count. Healing someone whose defense and blocking soak a lot of damage is worth more: each point healed counts as the damage it undoes before their defense and blocking, up to 10 times its value. |
Your share is your points divided by everyone's points. During the fight, the boss contribution panel on your HUD shows up to 8 fighters (always including you), alternating between share and points, with bars tinted in each player's aura colour. When the boss falls the panel stays on screen for 15 seconds. You can move it with the HUD editor.
Rewards
When the boss is defeated, everyone in range sees a victory title with their placement and share. Every contributor with at least 7.5% of all the points then rolls each reward of that boss; below that share you get nothing, and the chat tells you your contribution wasn't enough.
- A reward with a 100% chance is guaranteed, and its amount (Attributes, item count) scales with your points: the top contributor gets the full amount, and everyone else at least 50% of it.
- Other rewards are rolled with their chance, boosted by your rank: MVP +25%, 2nd +15%, 3rd +10%.
- A reward that teaches a predefined technique also unlocks it.
Every boss pays Attributes, split like quest rewards: half arrive as Attribute Points and half as the Training Points those points would cost you right now, so the reward keeps its value however expensive your stats get (see Stats and Attributes). Your story difficulty doesn't change world boss rewards.
| Boss | Default rewards |
|---|---|
| Janemba | ×500 Attributes, Dimension Sword (50%), Dimensional Warp technique (20%) |
| Turles | ×50 Attributes, Fruit of the Tree of Might (50%), Kill Driver technique (25%), Meteor Burst technique (15%) |
| Metal Cooler Core | ×105 Attributes, 4 Gete Ingots, Supernova (Cooler) technique (20%), each of the six Gete capsules (12% each) |
| Tamagami Number 3 | ×90 Attributes, Tamagami Hammer (30%) |
| Tamagami Number 2 | ×300 Attributes, Tamagami Trident (30%) |
| Tamagami Number 1 | ×360 Attributes, Tamagami Sword (30%) |
| Gomah | ×435 Attributes, Demon Eye (2%) |
Each Tamagami also drops its own Demon Realm Dragon Ball on its platform when defeated: Tamagami Number 3 the 3-star ball, Number 2 the 2-star and Number 1 the 1-star. The three balls summon Porunga in the Demon Realm.
Results screen
Each contributor gets a chat summary of what they received with a [More info] link. It opens the results screen, also available with /dmzworldboss results for 30 minutes after the fight. It shows rank badges, a four-colour contribution bar per player (red for damage, blue for mitigated, orange for received, green for healed; hover for the breakdown), and each player's chances and received rewards. Click a player to see theirs.
Commands
| Command | Permission | What it does |
|---|---|---|
/dmzworldboss results |
Everyone | Opens the results screen of your last world boss fight (kept for 30 minutes). |
/dmzworldboss locate [boss] |
Level 2 | Without a boss: lists every lair with clickable coordinates, distance and status (alive, respawning in…, waiting to spawn). With a boss key: just that one. |
/dmzworldboss tp [boss] |
Level 2 | Teleports you to a lair. |
/dmzworldboss reset [boss] |
Level 2 | Ends the fight, removes the boss and clears its lair state and respawn timer, so the lair is set up again and the boss respawns. The Tree of Might, the Big Gete Star and Gomah's Horn Cradle are also restored (over a few seconds) in the chunks that are loaded: stand next to a big lair and run it again to restore the rest. The Janemba and Tamagami arenas are rebuilt when a player gets close. A boss that isn't loaded is removed as soon as its chunk loads. |
/dmzworldboss ready [boss] |
Level 2 | Clears the respawn timer so the boss can spawn (or wake) right away. |
Without a boss, tp, reset and ready use the nearest lair in the dimension you're in (janemba if this dimension has none). The boss keys are janemba, turles, metal_cooler_core, tamagami_3, tamagami_2, tamagami_1 and gomah.
Configuration
Server owners can tune the fights in the worldBoss section of general-server.json: the contribution range and category weights, the number of lives, the revive slot, cast time, range, cooldowns and restore amount, the damage that interrupts a revive and how fast unfinished revive progress fades, how long the truce lasts after a fight, how much health and damage each extra fighter adds, the rank chance bonuses, the guaranteed reward minimum and minimum share, and each boss's reward list. A boss missing from the reward list uses its default rewards, and an empty list disables its drops. The Hard difficulty health and damage multipliers (hardModeHPMultiplier, hardModeDamageMultiplier) also scale every world boss.
worldBoss